How To Fix a Zipper on a Backpack Without Tools

Knowing how to fix a zipper on a backpack without tools is an essential skill that you should have to save both your time and money. As well as to avoid the unbearable frustration that comes with a broken zipper it is recommended to know how to fix a zipper on a backpack without tools.
Imagine this, you’re just heading out for a long-coveted trip, everything ready, and just as you try to step out of your house, “zoop” the annoying voice of that zipper breaking down scratches your ears. If only you knew how to fix that thing, your morning wouldn’t be spoiled so badly.
Not just a broken zipper but trying to fix that zipper without knowing the proper steps to do it can be more infuriating than the broken devil itself. So, we bring you some authentic methods on how to fix the zipper on a backpack without tools without any trips down to the store or changing bags at the last moment so zip up! (Pun intended).
Checkout how to fix a backpack strap adjuster if you are facing the problem.
Methods on How to fix a zipper on a backpack without tools:

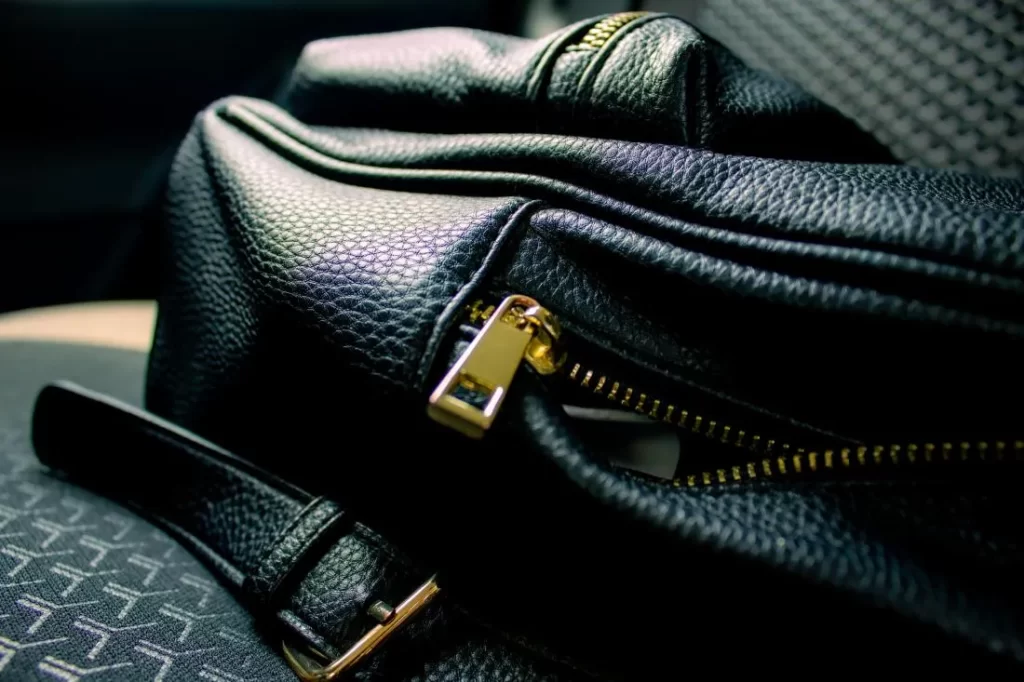
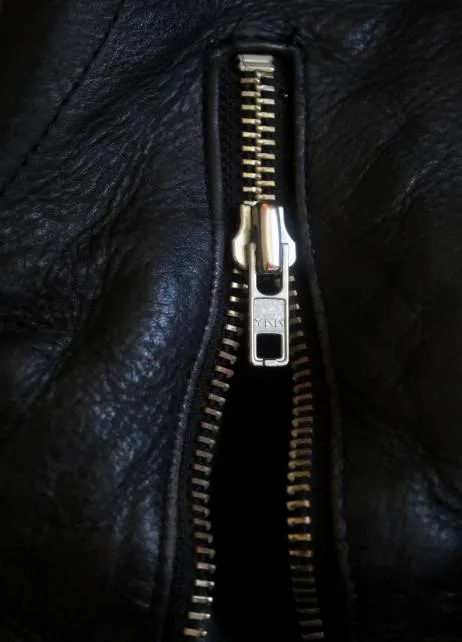
A lot of methods can be employed to fix that zipper of yours within a few minutes depending on which part has broken. A Zipper essentially has two parts
- The teeth (the zig-zagged strap which makes the most of it)
- The slider (the tool which slides over the zipper to close it)
So based on that the following methods can come in handy and be highly useful for you.
A. Fixing a Missing Tooth:
A zipper missing a tooth can be highly annoying as the slider can get stuck in it hence destroying the zipper. But not to worry as you can easily fix it in just 3 steps.
Step 1: Move the Slider Away:
To work efficiently and without hindrance make sure the slider is far away from the missing tooth.
Step 2: Set a Simple U Piece:
Any U-shaped object which (like that missing tooth) can accommodate the slider to move up and down will work in its place.
Step 3: Attaching the U Piece by Sewing or Supergluing:
This last step requires strong work as you want your “alternate tooth” to last longer.
B. Repairing a Broken Slider:
A broken slider merely needs some reattaching to the zipper and within a few minutes, you can have a zipper as good as new. It is the easiest to do and can be done with just a screwdriver.
Step 1: Find the “end side” of the zipper:
This will most probably be the side that is either torn away from the bag or diverted away. Locate it and hold the two strands of the zipper close together.
Step 2: Adjust the teeth of that end into the slider:
Carefully keeping both teeth aligned in a parallel manner, firmly put them into the slider. To help you fix them properly use a screwdriver to give a firm final push so the teeth can be fixed.
Step 3: Lock the slider in place:
Use the puller on the slider and guide it up and down through the zipper to firmly lock it on the zipper.
Congrats! Your slider is fixed.
C. Straightening a Misaligned Zipper:
A misaligned zipper is probably the most common zipper malfunction to occur. It can be fixed by these steps.
Step 1: Take off the slider:
For straightening a misaligned zipper, take off the slider completely from the zipper.
Step 2: Take off 4 teeth:
In the second step, take off 4 teeth from the end and realign the zipper. Use pliers to take off the teeth so the space can be sewn later and adjust the zipper in such a way that it straightens.
Step 3: Re-attach the Slider:
In the last step, re-attach the slider and sew the open end of the zipper with the bag.
D. Preventing Future Zipper Malfunctions:

If your zipper destroyed your perfect adventure mood once, who is to say it won’t do it again? Keeping that in mind, you must keep that little guy in check and maintain it from time to time.
Step 1: Lubricate the zipper regularly:
Zipper lubrication not only makes opening and closing the zipper extremely easy for you, but it also helps in its long-term maintenance. It does so by reducing the friction and resistance between the teeth and the slider.
Step 2: Unzip it with care:
Rash use of the zipper is a common mistake that many bag owners do. That will only reduce the zipper quality and all the different malfunctions will occur. Therefore, it’s necessary to be extremely cautious with handling it.
Step 3: Reevaluate before doing too much damage:
A good way to prevent pulling out a puller or slider is to not force it down if it feels stuck at any point during unzipping. Simply let go of it and let it readjust and try again. This will help the zipper stay safe.
E. Using a Pen or Pencil:
That everyday graphite pencil of yours can be extremely handy to fix a stuck zipper. Apply the following steps to get your slider sliding again.
Step 1: Hold the puller and locate the stuck area:
You will need to recognize the teeth which are causing the problem by moving the slider around the stuck area. Then pull it up to get a thorough view of the zipper.
Step 2: Apply the graphite tip of a pencil to surrounding teeth:
You need to rub the pencil on the surrounding teeth. This will have a lubricating effect and help the slider pass smoothly.
Step 3: Move the slider:
In the last step, move the slider through the graphite and apply it where necessary. This will help to solve your problem of how to fix the zipper on a backpack without tools.
F. Using a Shoelace or Paracord:
In case the puller of your Slider is broken, you don’t have to worry about that as well as a simple shoelace or paracord can work like magic in its place.
Step 1: Remove the puller using pliers:
A broken puller can be completely removed from the slider by clipping it off using strong pliers.
Step 2: Pass a small piece of lace or paracord through the slider:
You must be cautious that the lace or paracord fits properly into the slider and that the length is appropriate for normal functioning.
Step 3: Create a loop and make a knot at the ends of the cord:
Make sure the knot is made strongly enough that a simple pulling action doesn’t open it. And you’re good to go.
G. Using a Safety Pin or Paper Clip:
Safety pins and paper clips are a huge DIY alternative to broken slider pullers as they can very easily be available and can be reliable replacements.
- Step 1: Remove the broken Puller
- Step 2: Carefully thread the pins or clip through the slider loop
- Step 3: Adjust the position of the clip.
Move the slider via the clip up and down to see the viability. You may add or remove pins and clips accordingly.
H. Using Soap or Candle Wax:
Another great idea to reduce the friction between the slider and the teeth and hence unstick a zipper is to apply soap or candle wax.
- Step 1: Cut a piece of soap or candle wax. Waxy objects such as soap and candles are known for their lubricating properties without any stains, and they can unstick the zipper.
- Step 2: Apply it to the stuck area of the zipper.
- Step 3: Move the slider back and forth until a smooth zipper is reached.
Conclusion:
In conclusion, we’ve told you the importance of knowing how to fix a zipper on a backpack without tools to escape any trouble that might come your way at the last moment.
Giving you various methods to do it in different types of scenarios and malfunctioning, we hope you can now tackle any zipper disaster that comes your way without spending any money on its repair or buying a new zipper.
How many of these methods do you already use? And how many of these methods will save your days in the future? Tell us how helpful we were and mention any other methods of fixing a zipper without tools that have worked for you!
FAQs:
How to fix a zipper on a backpack?
A zipper on a backpack can be fixed easily by just pulling out the slider and adjusting the teeth. Almost all common malfunctions can be easily treated this way and add lubrication.
How to fix a backpack zipper with a fork?
A fork can be an easy way to push the teeth of the zipper back into the slider. Simply put the slider in between the teeth of the fork. Then take both sides of the zipper tape and simultaneously guide them through each of the openings of the fork. And you’ll have as good as a new zipper.
How to fix a zipper slider?
You can fix a zipper slider by simply removing it and after proper readjustments of the zipper, sliding it back it using any simple tools including a fork.
How to fix a backpack zipper that is stuck?
The best way to deal with a backpack zipper that is stuck is to lubricate it with either any type of oil, wax, or even pencil. Just rubbing it slightly on the teeth of the stuck part will help counter that resistance and then let the slider move smoothly through the zipper.
How to fix a zipper that came off track?
A zipper that came off track can be easily fixed after ruling out any warps or turns by, aligning the sides of the zipper tape. After that, smoothly attach them at the same time to the slider. It is then moved up and down to check and get a good attachment.


