How To Waterproof a Backpack of Winter
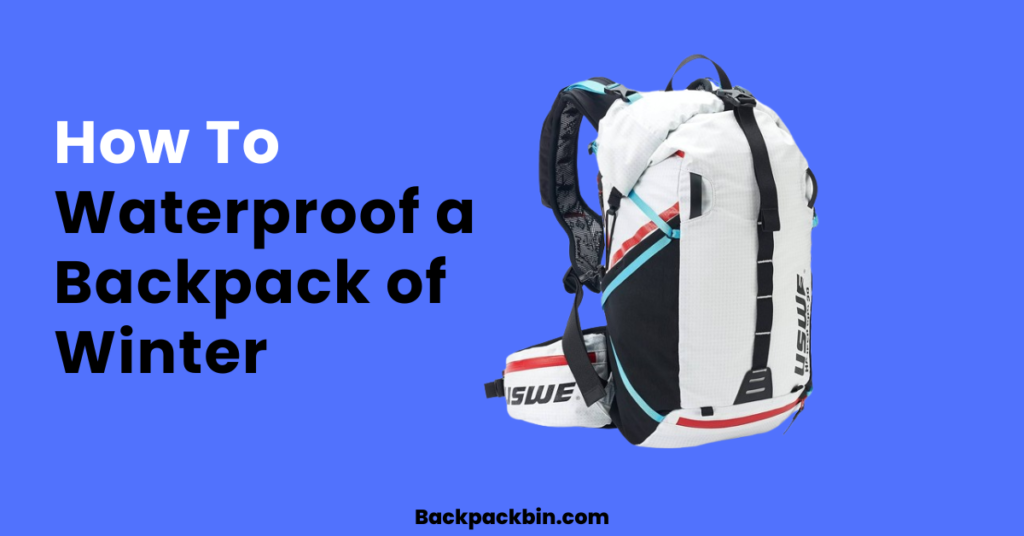
One way to make your gear last longer is to figure out how to waterproof it. As an added preventative measure, waterproofing an item increases its efficiency and longevity, making it impervious to water damage no matter what. A waterproof rucksack is a must-have piece of equipment for any outdoor excursion. Then a question arises of how to waterproof a backpack of winter.
From the peak of a mountain to a drizzle-soaked hike, your gear needs a dry place to stay. Unfortunately, not all backpacks are watertight, so you run the danger of having your belongings destroyed by precipitation. Consider getting your backpack waterproof as soon as you start making plans for your trip.
To help you decide which method of waterproofing your backpack is ideal for you, this article provides some helpful hints.
Ways to Waterproof Backpack in Winters:
Mastering the art of bag waterproofing might come in handy because getting wet in the rain is probable. It is wise to have an emergency kit on hand in case of any unforeseen circumstances, such as crossing a river or dealing with severe weather.
By waterproofing your backpack in winter, you can get your equipment ready to handle any of these difficult water situations in a few different ways. Here is the list of ways to waterproof your backpack for winter:
1. Rain Cover:
The Cover of the Pack: This brings us to the next step in protecting your backpack from the water: Cover it with something watertight! A backpack cover is an easy and practical method to protect the bag and its belongings from the weather.
These coverings, which resemble enormous oblong bath caps, are accessible in a range of sizes that roughly correspond to the dimensions of your bag. Thus, the elastic band around the pack’s perimeter is responsible for keeping the cover in place. When it starts to rain, just pull it over your head and then remove it before putting it in the backpack.
The most significant drawback of rain covers is the fact that you have to remove them to get to your backpack’s compartments and contents, leaving your belongings vulnerable to the elements. Naturally, you may still decrease the amount of time the cover is off if you’re neat and organized.
If you’re worried about getting somewhat wet from the water running off your arms and shoulders into your bag, you should know that a waterproof covering will keep your belongings dry. Having said that, it’s safe to assume that a raincoat is also worn by those who carry pack covers.
2. Rucksack Liners:
For those who like kayaking and trekking, there is a product called a rucksack liner, which is essentially just a big polyethylene bag. this polythene bag is designed to keep water out. Despite their thickness, they are remarkably lightweight due to the particular plastic composition they are composed of. Color is an additional attribute that makes them great.
Typically, they are brightly colored, making it easy to track the contents if your rucksack is torn open in an accident. If you want to make sure your carry-on stays dry when you use a liner, don’t ever top it up outside of your backpack. Installing the liner inside the carry-on in this way increases the likelihood that it will be damaged. Before you begin to load it with anything, make sure it fits snugly within the bag.
To let most of the air out, immediately after this, place your body weight on the bag. Refill the bag with air by swiftly twisting and goosenecking the end.
3. Dry Bags:
Being water resistant against rain is not the same as being waterproof. Let the dry bag handle this. For activities like paddle sports, when total submersion is required, there are specialized bags and backpacks made specifically for usage on water.
Durable materials like PVC and polyester, combined with a roll-top closure, make dry bags ideal for storing anything you need to keep dry. Whereas liner bags and pack covers may make a carry-on more watertight, a genuine dry bag is more similar to a watertight bag that was modified to resemble a backpack.
Because of their lack of padding and design, these aren’t ideal for long days of trekking, but they’re perfect for automobile camping or canoeing trips where you need long-lasting waterproof protection but don’t plan on wearing them for long periods.
How to Waterproof Carry-on at Home:
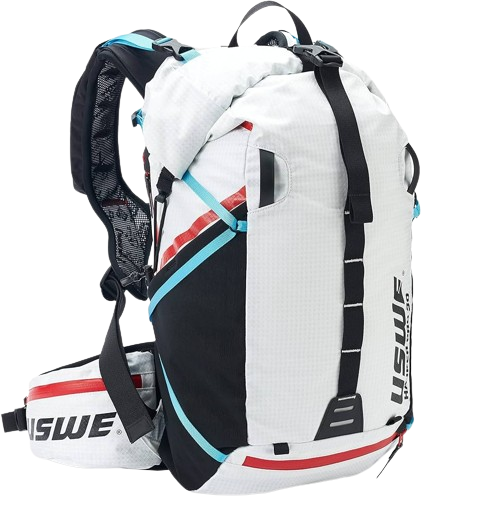
1. Waterproofing Spray:
Applying a waterproofing spray will prevent water from penetrating your bag after you’ve finished preparing it. Before you buy sealing spray, make sure it’s made for the fabric of your backpack. Make sure the product is compatible and effective by reading the label.
If you want to make sure that the repellent spray won’t ruin the material or leave a noticeable stain before you spray it all over your bag, try it on a hidden spot first.
Before applying the waterproofing spray, make sure the location is well-ventilated, ideally outside. By doing so, you can make sure the substance is dispersed correctly and avoid inhaling any odors.
After using the waterproofing spray, make sure the backpack is dry enough to follow the instructions. Be careful not to let the bag get wet until it’s totally dry.
To get the best effects, you may need to apply more than one application of waterproofing spray; this will depend on the manufacturer’s recommendations.
2. Apply Seam Sealer:
To prevent water from seeping through the threads and compromising the water-resistant properties of your bag, you must glue down the seams.
Pick a seam sealer that works with your backpack’s fabric. You may choose from a variety of seam-sealing adhesives and liquid sealers. Make sure you follow the directions provided by the manufacturer for the item you’re using.
Make sure there is no dirt or debris stuck to the seams. Gently brush or wipe away any debris that might get in the way of the seam sealer’s efficacy. When sealing the seams of your rucksack, be sure that you comply with the manufacturer’s recommendations to the letter.
Make sure the sealer covers the stitches completely without building up too much, and apply it evenly throughout the bag. Make sure to give the seam sealer ample time to air out according to the directions. To keep the sealing intact while the seams dry, don’t fold or flex them.
Check for potential problem areas and add more seam sealant as needed.
3. Test The Waterproofing:
Check the procedure’s efficiency after waterproofing your carry-on before using it in rainy situations. To make the bag seem as full as your real goods, stuff it with some light objects like towels. To make sure the test is correct, this is necessary.
Fill a spray bottle and target the spots where water is likely to leak the most.
After spraying, be sure there is no visible evidence of water leaking from the inside of the backpack. Verify that no water has seeped in via any openings, such as seams or zippers.
Conclusion:
Hopefully, after reading this post, you’ll understand why a waterproof bag is necessary. If you’re worried that buying waterproof bags will break the bank, the advice above might be all you require to keep your belongings dry in the case of sudden rain.
To create a waterproof layer for your backpack, there are many steps to follow. These include selecting the bag with waterproofing characteristics, getting it ready for the procedure, spraying it with waterproofing spray, sealing the seams, and lastly, checking how well it worked.
Is it better to buy a waterproof bag or to create your own? Regardless of the approach you end up using (or a combination of methods), it’s worth considering that a high-quality waterproof bag might be the most effective investment you can make. Looking for professionals on the go? Our business packs are perfect for them.
