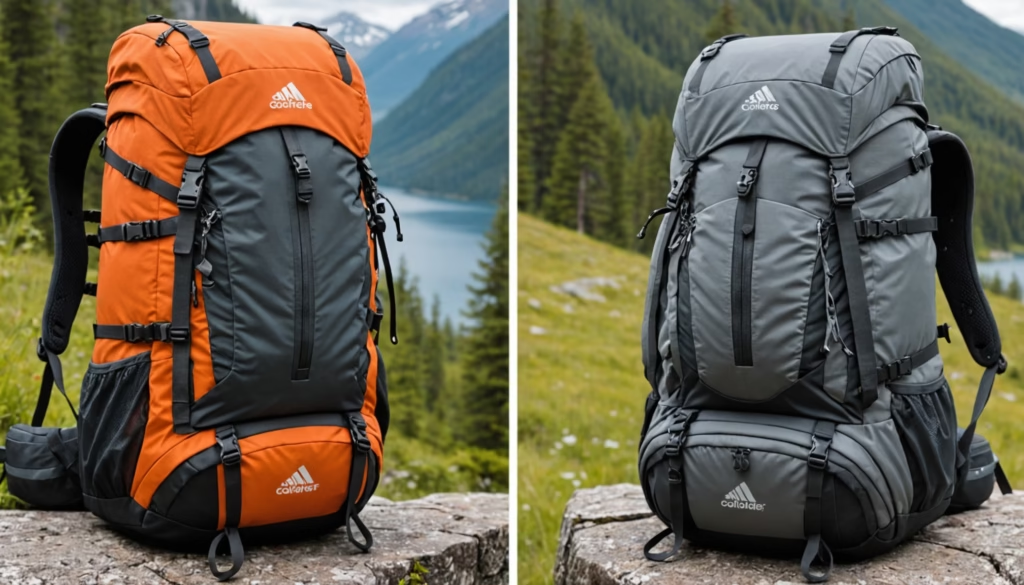
How To Adapt A Hiking Backpack Into A Camera Backpack

Picture this: you’re heading out on a trail, DSLR in one hand, lenses in the other, then you realize your gear is rattling inside a regular hiking bag. Not exactly confidence-inspiring, right? Wondering how to adapt a hiking backpack into a camera backpack? In this guide, you’ll get step-by-step tips on sizing up your pack, adding padding, and organizing bodies, lenses, and accessories. By the end, you’ll have a rugged, protective setup that feels custom-made for your travel photography needs.
Evaluate your hiking pack
Before you grab foam and scissors, take a hard look at your hiking bag. You want enough volume for camera bodies, lenses, and personal gear without overloading your back.
- Check capacity: Note the pack’s internal liters. Aim for at least 25–30 L for a mirrorless kit and small tripod.
- Examine compartments: Look for side pockets, top lids, hydration sleeves, or hip-belt pouches you can repurpose.
- Assess current padding: Is the back panel firm, or soft? A sturdy frame sheet helps distribute camera weight.
- Test load balance: Fill your hiking bag with gear and take a quick walk. Does it shift or dig into your shoulders?
If your pack lacks a solid back panel or hip-belt padding, you may need to upgrade those parts first. A well-fitting frame sheet and a padded waist strap go a long way toward comfort when you’re carrying delicate camera bodies.
Gather protective materials
Once you know your pack’s raw layout, collect supplies to cushion your gear. You can find most items at craft stores, hardware shops, or online photography retailers.
| Material | Pros | Cons |
|---|---|---|
| Open-cell foam | Soft, easy to shape | Absorbs moisture, less durable |
| Closed-cell foam | Water resistant, durable | Firmer, tougher to cut straight |
| Pre-cut camera cubes | Quick install, professional fit | Pricier, limited size options |
Other handy supplies:
- Hook-and-loop (Velcro) strips for attaching dividers
- Nylon fabric or ripstop to cover sharp foam edges
- Scissors or a utility knife with a fresh blade
- Measuring tape and marker
If you prefer ready-made inserts, look into padded camera cubes. They stick together with Velcro and offer instant customization.
Build custom dividers
A hiking bag’s open space works better once you carve out snug compartments. Custom dividers protect gear and keep everything in place when you move.
Using foam inserts
- Measure the internal width, height, and depth of the main compartment.
- Transfer measurements to closed-cell foam sheets.
- Cut panels for vertical and horizontal dividers.
- Attach hook-and-loop strips so panels stay put without permanent glue.
Closed-cell foam holds its shape under pressure, so your lenses won’t bump into each other. Cover any rough edges with nylon tape to prevent scratching gear.
DIY padded dividers
- Stack layers of open-cell foam, then wrap them in ripstop nylon.
- Sew or hot-glue the nylon around the foam, leaving Velcro tabs exposed.
- Trim excess material so dividers slide in smoothly.
If sewing isn’t your strength, use fabric glue and heavy-duty thread. The goal is a soft barrier that breathes, so condensation doesn’t build up.
Organize lenses and bodies
With dividers in place, plan where each camera body and lens will live. A thoughtful order speeds up swaps when the light changes.
- Store heavier items at the bottom, closer to your back.
- Place camera bodies in the center to shield them from impacts.
- Keep wide-angle or prime lenses in smaller compartments near the top.
Storing camera bodies
Fit each body in its own pocket or foam well. If you have two bodies, stagger them so their grips don’t overlap. That prevents scratches and makes each camera easy to sling over your shoulder.
Packing lenses upright
Upright storage reduces lens element stress and stops internal parts from shifting. For best results, follow these best practices for storing lenses upright or flat. Use smaller foam cubes to brace medium-sized lenses, and reserve full-length pockets for telephoto glass.
For a complete strategy on ordering bodies and lenses, check out the best packing order for cameras and accessories.
Stash accessories smartly
Beyond bodies and lenses, a travel-ready kit needs filters, cables, chargers, and cleaning supplies. A messy collection can slow you down when the action heats up.
Filters and cables
Keep filters in a small pouch or case and tuck it into a hip-belt pocket or lid compartment. For pro tips on packing crystal-clear filters, see creative ways to store filters in a camera backpack. Cables and chargers live best in a dedicated zip pouch, so they don’t tangle with everything else. You can learn more about neat cable setups at organizing cables and chargers in a camera backpack.
Tripod and lighting
If your hike calls for a mini-tripod or portable LED panel, decide whether to stash it inside or attach it outside. Inside, you’ll need extra length and width, which cuts into lens space. Outside, use side straps or gear loops.
Add exterior attachments
Some items are too bulky or wet to live inside. Use your pack’s external straps, loops, and pockets to carry them.
Carry a tripod
Most hiking packs have compression straps you can adapt into tripod holders. Sling the tripod head-down and tighten straps around the legs. For more detailed methods, see tips for carrying multiple tripods with a backpack.
Water and snacks
Outdoor shoots demand hydration and energy bars. Slip a reusable water bottle into a side mesh pocket. Store snacks in a small dry-bag to protect camera gear from grease or crumbs. If you want the full rundown, head over to how to pack snacks and water in a camera backpack safely.
Adjust straps and fit
After packing everything, fine-tune your pack so it feels balanced and secure.
Avoid shoulder pain
If your shoulder straps dig in, add extra padding or widen the load lifters. Proper hip-belt adjustment shifts up to 80 percent of the weight off your shoulders, so you can focus on framing the perfect shot. Learn more at how to avoid shoulder pain from heavy camera backpacks.
Prevent strap slipping
Loose straps can lead to wobble, which is bad news for delicate sensors. Use strap keepers or small carabiners to lock straps in place. For full anti-slip strategies, check how to prevent camera backpack straps from slipping.
Test and tweak layout
Before you hit the trail, load up your pack and do a quick field test.
- Walk around your home or yard for 10 minutes.
- Pay attention to shifting, rubbing, or awkward weight pulls.
- Pause and swap dividers or adjust pockets until each item feels rock solid.
Aim for a setup that keeps your camera always within reach, yet snug enough to stay put over rough terrain.
Frequently asked questions
What type of padding works best for camera gear?
Closed-cell foam is our top pick. It repels water, holds shape, and absorbs shocks nicely. If you need ultra-soft cushioning, layer open-cell foam inside a closed-cell shell. Pre-cut camera cubes are also a fuss-free option.
Can I use my pack’s hydration bladder pocket for gear?
Absolutely. A hydration sleeve is water resistant and easy to access. Just clean it thoroughly, then slide in cables, chargers, or smaller lenses. Keep liquids separate in sealed bags to avoid leaks.
How do I keep lenses from clinking together?
Use snug foam dividers or padded sleeves. Upright placement and dedicated pockets prevent elements from touching. For more on this topic, see best practices for storing lenses upright or flat.
Is my hiking pack weight limit safe for camera gear?
Most packs support 20–25 percent of your body weight. If your filled camera pack exceeds that, lighten it by carrying large lenses externally or leaving nonessential items behind.
How should I maintain DIY foam inserts over time?
Wipe foam with a damp cloth every few months, and let it air dry completely before reinstalling. Replace any sections that show tears or compression dents to ensure consistent protection.
Can I attach a tripod to my hiking pack?
Yes, use side compression straps or lash it under the lid with gear loops. Make sure the head points down and the legs are tightly secured. For advanced tripod hacks, check tips for carrying multiple tripods with a backpack.
How can I speed up gear access on the trail?
Consider installing a quick-release side panel or using a sling holster for your primary camera. Dividers with color-coded tabs also help you grab the right lens in a flash.
Final thoughts and tips
Adapting a hiking backpack into a camera carrier is part gear upgrade, part DIY weekend project. You’ll save money by reusing what you already own, and you’ll gain a lightweight, versatile pack that stands up to both trails and shoots. Try the tweaks above on your next outing, and share how your custom setup performs.
If you’re planning a sunrise shoot or a night trek, check out how to use a camera backpack for night photography trips for packing and access tips that shine in low light. Happy shooting and safe trails!


