Quick Fixes For Broken Zippers in Teenage Backpacks
You’ve probably been there—you’re racing out the door, backpack in hand, when the zipper jams or the pull tab snaps off. It feels like the end of the world, right? But before you ditch your bag or shell out for a new one, try these quick fixes for broken zippers in teenage backpacks. They’re easy, fast, and use things you likely have around the house.
In this guide, you’ll find clear, step-by-step solutions for everything from stuck sliders to missing pull tabs. With a few simple tools and a bit of patience, you’ll have your backpack zipped up and ready to go before class even starts.
Understand Zipper Issues
Before diving into fixes, let’s pinpoint what’s going on. Zippers fail in a few common ways:
- Stuck Sliders: The slider (the part you pull) stops moving up or down.
- Separated Teeth: The interlocking metal or plastic teeth don’t mesh properly.
- Broken Pull Tabs: The little handle snaps off, leaving nothing to grab.
- Misaligned Tracks: One side of the zipper track sits higher or lower than the other.
Knowing the exact problem helps you pick the right fix fast. And if you’re ever uncertain, refer back to this section to confirm what you’re dealing with.
Stuck Sliders
When dirt, threads, or fabric snag inside the slider, it can feel locked. Instead of yanking harder—which risks bending the slider—loosen it gently with lubrication or a thin tool (more on that in the fixes section).
Separated Teeth
If you zip up and the teeth won’t stay together, the slider may be worn out or the teeth themselves might be bent. You’ll notice gaps forming just above or below the slider.
Broken Pull Tabs
Pull tabs are easy to lose—once one breaks off, you’re left with the slider but nothing to grip. A paperclip or key ring can stand in temporarily, but a proper replacement tab gives you the best long-term result.
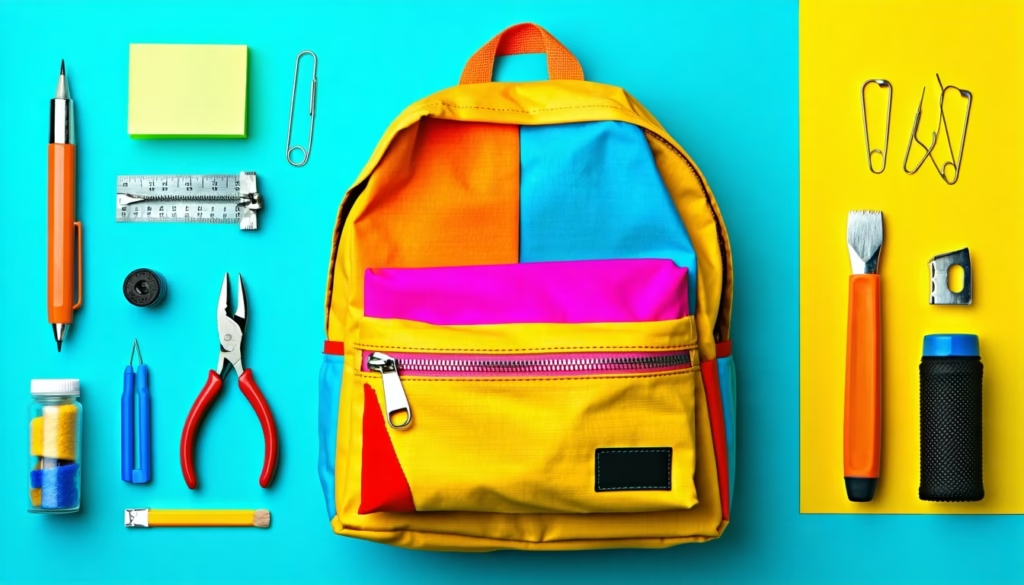
Gather Repair Tools
Having the right supplies on hand means you can tackle any zipper issue in minutes. Here’s what you’ll want:
- Needle-nose pliers (or flat pliers)
- Small screwdriver or tweezers
- Lubricant (bar soap, candle wax, or a graphite pencil)
- Replacement sliders or pull tabs (optional)
- Thread and a basic sewing needle
- Paperclip, key ring, or thin ribbon (for a quick pull tab)
Keep these in a little pouch at home or even in your backpack’s side pocket. If you’d rather buy a backpack that comes with built-in repair bits, check out backpacks with easy zipper repair kits included for students.
Apply Quick Fixes
Ready to jump in? Each of these DIY methods takes just a few minutes and gets your backpack back in action.
Lubricate Stuck Zippers
-
Clean the Teeth
Brush away debris with a soft toothbrush or use compressed air on tougher lint build-up. -
Choose Your Lubricant
A plain bar of soap, a rub of beeswax candle, or just scribbling along the teeth with a graphite pencil works wonders. -
Apply Gently
Rub your chosen lubricant along both sides of the zipper track, then move the slider up and down until smooth. -
Wipe Excess
Use a clean cloth to remove any extra wax or soap, so your backpack stays neat.
This simple trick is perfect when the slider sticks midway or at the top.
Realign Zipper Teeth
-
Examine the Track
Zip down until you see where the teeth aren’t meshing. -
Bend Teeth Back
Using needle-nose pliers, carefully press bent metal or plastic teeth back into line. -
Test the Slider
Gently zip up past the previously misaligned area. If it still splits, repeat until the jaws interlock evenly. -
Reinforce the End Stops
If teeth at the bottom are loose, add a few whip stitches over the last set of teeth to hold them together better.
Realigning teeth can save a perfectly good zipper from being replaced entirely.
Replace a Broken Pull Tab
-
Remove the Old Tab
If any part remains, use pliers to pull it off the slider. -
Thread a Temporary Pull
Slip a paperclip, key ring, or thin ribbon through the slider’s hole for an instant handle. -
Sew or Snap On a New Tab
Many craft stores sell replacement pull tabs you can sew on. Follow the package instructions or stitch through the slider’s hole with strong thread and knot securely. -
Test for Strength
Give it a firm pull—if it feels shaky, reinforce with extra stitches or a small drop of fabric glue.
With a fresh tab, you’ll avoid fumbling in a hurry.
Use Temporary Replacements
When nothing else is available, these minute-savers do the trick:
- Safety Pin Hack: Slide a safety pin through the slider hole.
- Paperclip Loop: Bend a paperclip into a teardrop shape and hook it on.
- Hair Tie Loop: Tie a small elastic hair band onto the slider.
These fixes keep you moving until you can apply a more permanent solution.
Quick Fix Summary
| Problem | Temporary Hack | DIY Repair | Time Needed |
|---|---|---|---|
| Stuck Slider | Graphite pencil scribble | Lubricate with beeswax or bar soap | 5 minutes |
| Misaligned Teeth | Zip past misaligned area | Realign teeth with needle-nose pliers | 10–15 minutes |
| Missing Pull Tab | Paperclip or safety pin | Sew on replacement or attach key ring | 10 minutes |
| Worn Slider | Zip carefully | Install new slider (requires sewing) | 15–20 minutes |
Know When to Seek Help
Some zipper damage goes beyond a quick fix. You might want professional help if:
Major Damage Signs
- Wide gaps that reappear immediately after realigning teeth
- Torn fabric around the zipper tape
- Slider track warped beyond pliers’ reach
Professional Repair Options
- Local tailor or dry cleaner services often replace zippers for around $10–20
- Shoe repair shops sometimes fix heavy-duty backpack zippers
- Specialty outdoor stores offer zipper replacement kits for durable brands
If you’re not confident in sewing or the zipper’s key to your bag’s security, it’s worth getting expert assistance.
Avoid Future Zipper Damage
A little care goes a long way toward keeping your backpack’s zipper working smoothly.
Don’t Overstuff
Packing too much makes the zipper strain against the teeth. Always zip slowly and evenly.
Handle Zippers Gently
Pull straight, not at an angle. Let the slider do the work without yanking or twisting.
Store Backpack Properly
Hang your bag by its top loop or lay it flat. Crushing can misalign the tracks over time.
Choose a Repair-Kit Backpack
For the ultimate convenience, consider a model with spare sliders, pulls, and even thread built in. It’s one less thing to worry about on busy school mornings.
For more small-scale solutions, check out minor repairs every teen girl should diy on her backpack.
Recommended Repair Parts
Stocking a few quality pieces means you’ll never be stuck without a fix.
| Item | Recommendation | Where to Buy |
|---|---|---|
| Zipper Slider Kits | YKK Universal Slider | Craft stores or online |
| Replacement Pull Tabs | Nylon or metal, size A or B | Sewing supply shops |
| Lubricant | Beeswax candle, paraffin bar | Hardware store |
| Thread & Needle | Polyester thread, size 50 | General stores |
Frequently Asked Questions
How long do these quick fixes last?
Most last for months when done properly, though heavy use may wear parts down faster.
Can I use candle wax on every zipper type?
Yes, but for plastic teeth, try a graphite pencil first to avoid residue.
Will soap or wax stain my backpack?
If you wipe off excess, staining is rare. Test in a hidden spot if you’re worried.
What if the slider keeps jamming?
Try realigning teeth first—bent tracks are often the culprit.
Is it better to replace the entire zipper?
For torn fabric or warped tracks, full replacement by a pro is usually more reliable.
Can I fix a nylon zipper the same as a metal one?
Generally, yes—lubrication and teeth realignment work on both materials.
Key Takeaways and Next Steps
Zipper troubles don’t have to derail your day. With simple tools and these quick fixes, you’ll master stuck sliders, bent teeth, and missing pull tabs in just a few minutes. Stock up on basic repair parts, handle your bag with care, and you’ll save time and money over the school year.
Ready to keep your backpack at peak performance? Try one of these fixes next time your zipper hiccups, and let us know which trick worked best for you.
Organizing Cables And Chargers In A Camera Backpack

The Ultimate Travel Backpack for Men: Travel in Style