Minor Repairs Every Teen Girl Should DIY on Her Backpack
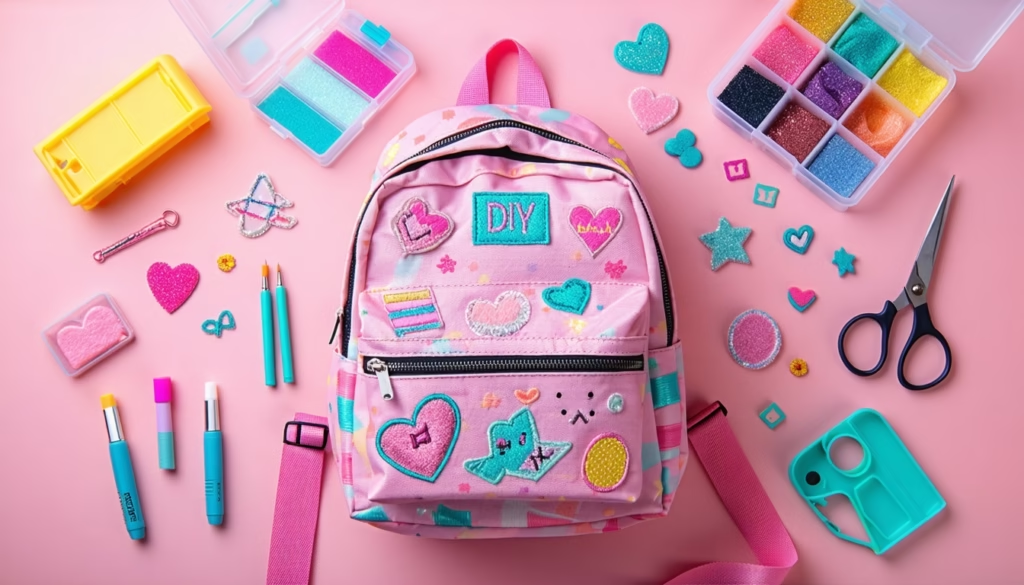
When your backpack strap starts to fray or a zipper jams right before class, you don’t need to panic. With a handful of supplies and a little patience, you can handle minor repairs every teen girl should DIY on her backpack. You’ll save time, money, and learn a handy skill—promise.
Replace Broken Zippers
Ever pulled on your backpack’s zipper only to have it snag or split apart? A faulty zipper is one of the most common backpack woes, but you can fix it yourself.
Diagnose Zipper Issues
- Check alignment – Teeth should mesh evenly.
- Inspect the slider – If it’s bent or loose, it won’t close teeth.
- Look for debris – Dirt or threads can jam the track.
Align Misaligned Teeth
- Slide the zipper to the bottom.
- Gently press misaligned teeth back into place with pliers.
- Test the slider up and down to ensure smooth movement.
Swap Zipper Pull Tabs
If the pull tab broke off, you can replace it in minutes.
- Unthread the old tab or the bit of wire.
- Loop a paperclip, key ring, or a store-bought replacement through the slider.
- Crimp the loop closed with pliers so it won’t slip out.
For more zipper rescue hacks, check out our guide on quick fixes for broken zippers in teenage backpacks.
Patch Small Tears
A tiny hole today can turn into a big rip tomorrow. Let’s patch small tears before they spread.
Select Patch Material
| Material | Pros | Cons |
|---|---|---|
| Iron-On Patch | No sewing required, seamless | Not ideal for heavy use |
| Fabric Scrap | Custom look, durable | Requires sewing skill |
| Adhesive Patch | Fast, waterproof options | May peel after washing |
Apply Iron-On Patch
- Clean area around tear.
- Heat iron to the recommended setting.
- Place patch shiny-side down, press firmly for 30 seconds.
- Let cool, then tug gently to test adhesion.
Sew Fabric Patch
- Cut scrap ¼ inch larger than hole.
- Pin patch over tear on the inside of backpack.
- Use a whip stitch or running stitch to sew around edges.
- Tie off thread securely and trim excess.
Reinforce Fraying Seams
When a seam starts to separate, act fast so your bag doesn’t split open mid-day.
Use Seam Sealant
- Choose a flexible fabric glue or clear seam sealant.
- Apply a thin line along the seam on both sides.
- Let dry completely before using your backpack.
Hand-Stitch Loose Stitches
- Thread a sturdy polyester thread and knot the end.
- Sew over existing stitch line with small, tight stitches.
- Backstitch at start and end for extra strength.
Secure Loose Straps
A loose shoulder strap can leave you lugging books by hand. Here’s how to tighten or replace it yourself.
Gather Supplies
- Heavy-duty needle or upholstery needle
- Strong thread or nylon cord
- Scissors and lighter (to melt cord ends)
Stitch Replacement Strap
- Remove old strap by cutting stitches or unthreading it.
- Thread new strap material (webbing tape or nylon) through buckle.
- Overlap ends by 1 inch and stitch in a box-X pattern for durability.
- Melt cord ends to prevent fraying.
Needle Options
- Upholstery needles work best for thick fabrics.
- Leather-point needles can pierce heavy webbing.
Use Webbing Tape
If you prefer a no-sew option, use industrial-strength fabric glue:
- Apply glue to overlapping strap ends.
- Clamp together for at least 1 hour.
- Test by pulling gently before reloading your pack.
Lubricate Zipper Sliders
Sticky zippers slow you down. A quick lubrication can make every slide smooth again.
Choose Lubricant
- Graphite pencil (rub the teeth gently)
- Candle wax or paraffin (rub on teeth)
- Silicone zipper spray (commercial option)
Apply to Zipper
- Run your chosen lubricant along both sides of teeth.
- Work slider up and down 5–10 times to distribute it.
- Wipe off excess to avoid attracting dust.
Tighten Loose Buckles
A wonky buckle means straps slip, and you end up adjusting them all day.
Adjust Buckle Screws
- Locate small screws or rivets on buckle.
- Use a precision screwdriver to snug screws—don’t overtighten.
- Test buckle by pulling strap firmly.
Replace Damaged Buckles
If a buckle’s broken, swap it out:
- Unthread old buckle and remove it.
- Feed strap through new buckle according to its design.
- Adjust and test for secure fit.
Clean Backpack Hardware
Dirt and grime can corrode metal hooks, buckles, and zippers over time.
Wash Removable Parts
- Take off any detachable buckles or straps.
- Soak in warm soapy water for 15 minutes.
- Rinse, dry thoroughly, then reattach.
Remove Stains
- Use a soft brush and mild detergent for fabric hardware.
- Wipe metal parts with a damp cloth, then dry immediately to prevent rust.
Perform Final Inspection
Before you head out with your newly fixed backpack, give it a once-over.
Inspect Repairs
- Tug gently at each patched or stitched area.
- Run the zipper up and down several times.
- Load a few books or your daily essentials to test weight support.
Test Backpack Load
Pack your usual items and wear the backpack for a minute.
- Check strap tension and buckle security.
- Ensure no new snags or tears appear.
- Adjust as needed before your next adventure.
Frequently Asked Questions
How often should I check my backpack for damage?
Give it a quick look every month, especially before busy school weeks.
Can I machine wash a repaired backpack?
Only if you skipped glue repairs. Hand-wash and air-dry to protect patches and stitches.
What type of thread is best for straps?
Use polyester or nylon thread rated for outdoor gear—it’s strong and water resistant.
Will glue repairs hold up in the rain?
Waterproof fabric glues usually handle light rain, but seam sealant adds extra protection.
Can I use a regular sewing needle on thick fabric?
A sturdy upholstery needle is easier to push through heavy canvas or webbing.
How do I prevent future tears?
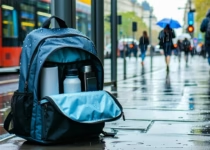
Avoid overstuffing your bag and distribute weight evenly. Learn more about optimizing weight distribution in large backpacks for teens.
What if my repair fails at school?
Carry a mini repair kit—needle, thread, spare patch, and a tiny tube of fabric glue.
Review Your Repairs
You’ve tackled zippers, straps, seams, and more. Each fix keeps your backpack ready for everyday adventures, whether that’s school, sports, or a weekend trip. With these skills in your back pocket, minor disasters become easy DIY wins. Keep your tools handy, and you’ll never stress over a loose stitch again.

Sustainable Backpack Materials That Teen Girls Prefer
Using Weatherproof Liners Inside Backpacks For Rainy Commutes