Using Weatherproof Liners Inside Backpacks For Rainy Commutes
Why Add Backpack Liners
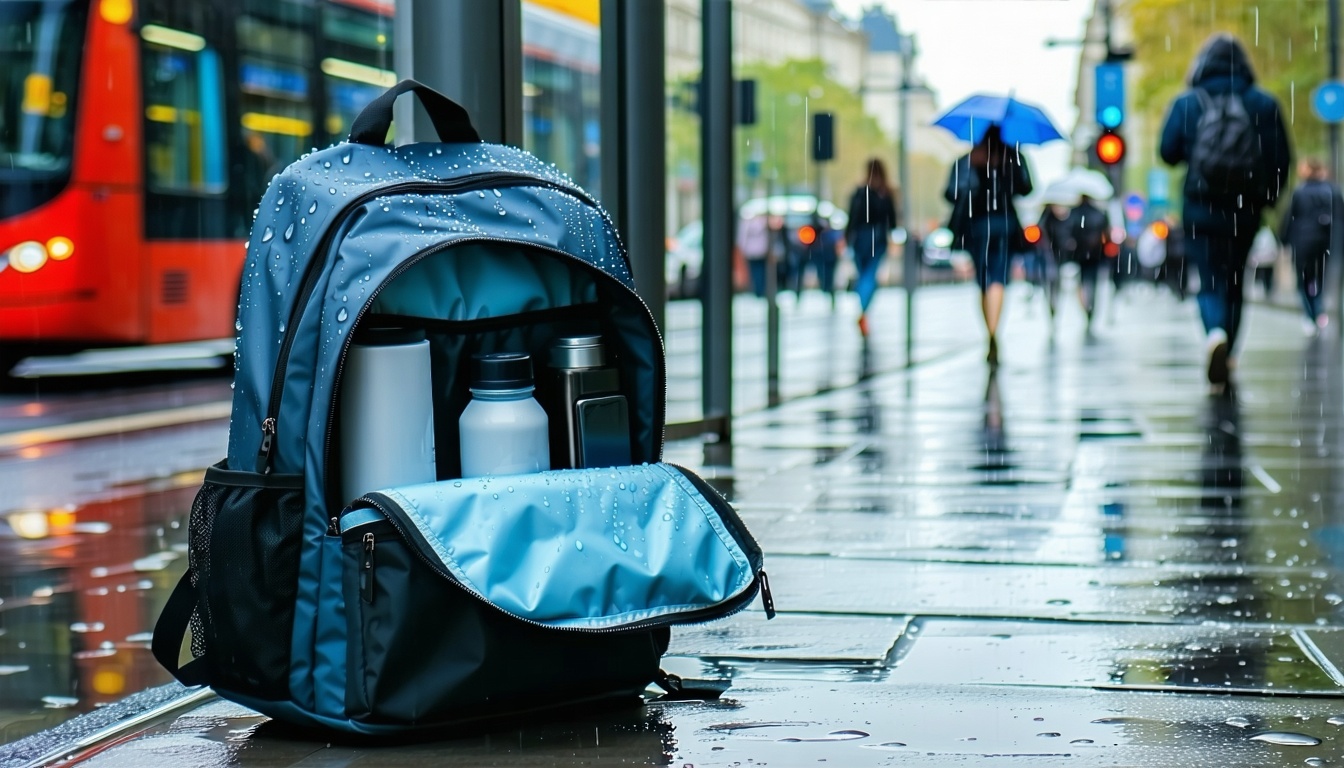
Picture this: you dash from class through a downpour, only to unzip your backpack and find soggy notebooks, a drenched charger, and smudged makeup. You’re not alone—rainy commutes can wreak havoc on your daily essentials. One trick I swear by is using weatherproof liners inside backpacks for rainy commutes. It’s an easy, affordable way to keep everything dry without spending on a fancy new bag.
Here’s the promise: by the time you finish reading, you’ll know how to pick, install, and care for liners so your backpack stays dry and organized. No more soggy surprises—just peace of mind on drizzly days.
Choose Your Liner Material
Not all liners are created equal. It helps to know what each material offers before you shop.
Common Material Options
| Material Type | Pros | Cons |
|---|---|---|
| Vinyl/Plastic | Affordable, easy to wipe clean | Can feel stiff or noisy |
| Silicone-Coated Nylon | Lightweight, packable, durable | Tends to cost more |
| Foldable Dry Bag | Multipurpose (use as standalone bag) | Bulkier when folded |
Vinyl/Plastic Liners
- Great starter option if you’re on a budget.
- Simply cut to fit your bag’s shape.
- Watch out for leaks at seams—seal them with waterproof tape.
Silicone-Coated Nylon Liners
- Feels softer against your gear.
- Rolls up small, so it won’t take space when it’s dry.
- Look for seam-sealed designs for extra protection.
Foldable Dry Bags
- Double as travel pouches for swim or gym days.
- Often come with roll-top closures to lock out water.
- Might add thickness inside your bag.
Liner Size and Fit
Getting the right dimensions is key to full coverage. Here’s how to measure:
- Empty your backpack and lay it flat.
- Measure height, width, and depth at the widest points.
- Add 2 inches to each measurement for ease of insertion.
Make sure side pockets get liner coverage too if you stash your phone or lip balm there.
Install Liners Step by Step
Let’s walk through this step by step so you nail the installation the first time.
Prep Your Backpack
- Empty all compartments, shakes out crumbs.
- Spot-clean any stains so dirt won’t trap moisture.
- Lay your bag on a flat surface—floor or table works.
Insert and Seal
- Unfold the liner and orient it vertically.
- Slip it into the main compartment, pushing corners all the way down.
- Tuck liner edges into side pockets or zippered pouches if possible.
- Close the bag, then check that the liner lip peeks just above the zipper line.
Test for Leaks
- Pour a small amount of water into the liner (with your hand fingers crossed).
- Look for drips along seams or edges.
- If you spot leaks, seal them with clear waterproof tape or a silicone patch.
Organize with Liners
A weatherproof liner doesn’t have to be a plain bag—get creative with organization once it’s in place.
Combine with Color Coding
Pair liners with colored pouches or binder clips. That way you can:
- Snap your charger into a bright pouch.
- Keep snacks in a contrasting bag so you grab them first.
- Swap out pouches for gym gear or art supplies.
If you want a deeper dive on that trick, check out using color-coding inside a teen backpack for better organization.
Pair with Accessory Pockets
- Line smaller zip pouches for toiletries or skincare items.
- Use pencil cases inside liners to keep pens upright and dry.
- Stash an emergency snack pocket at the front so you’re never hunting for granola bars.
Maintain Your Liners
A little care goes a long way. Cleaning and storing liners properly lets you reuse them season after season.
Cleaning Tips
- Wipe down vinyl liners with soapy water after each heavy use.
- Hand-wash nylon liners in cold water, then air-dry fully before folding.
- Avoid harsh detergents that can break down coatings.
Storage Suggestions
- Roll liners instead of folding to prevent crease leaks.
- Store them in a cool, dry drawer or zippered pouch.
- Keep a small waterproof repair kit (patches and tape) tucked in your backpack just in case.
Alternative Waterproof Ideas
Linings aren’t your only defense. Here are quick rainproof hacks you can add to your routine.
Umbrella Attachments
Clip a compact umbrella to your bag strap for on-the-go coverage. For tips on the quickest setup, see how to attach a foldable umbrella to a backpack easily.
Waterproof Sprays
- Choose a spray safe for fabrics (look for PFC-free labels).
- Spot test in an inconspicuous area to make sure colors don’t run.
- Reapply every few months, especially after laundering your backpack.
Rainproof Backpack Covers
You might spot specialty options like waterproof liner-equipped school backpacks for teen girls. Covers slip over your entire bag and fold into tiny pouches when not needed.
| Protection Method | Coverage Level | Portability |
|---|---|---|
| DIY Liner | High inside | Always in your bag |
| Spray Coating | Medium overall | Weightless |
| Removable Rainproof Cover | High outside | Bulky when stored |
Frequently Asked Questions
1. Can I just use a large Ziploc bag instead?
You could, but Ziplocs tear easily and don’t cover pockets. A tailored liner lasts longer and gives full coverage.
2. How often should I replace my liner?
Check for signs of wear after three to six months of daily use. Swap it out if you notice cracks or persistent leaks.
3. Will liners add a lot of weight?
Most liners weigh under 3 ounces. Vinyl is a bit heavier, while silicone-coated nylon stays ultra-light.
4. Can I machine-wash my liner?
Vinyl liners do best with hand wiping. Nylon liners can go in a gentle machine cycle, but always air-dry.
5. What if my backpack has a built-in liner?
Test the factory liner just like your DIY one. Sometimes factory seams aren’t sealed fully, so a secondary liner gives extra peace of mind.
6. Will a liner fit in any backpack size?
As long as you add a couple of inches to your measurements, you can cut liners to fit any shape or volume.
7. Do liners help with spills inside?
Absolutely. They keep leaks from pens, snacks, or one-too-many juice boxes from staining your backpack interior.
Conclusion and Next Steps
Using weatherproof liners inside backpacks for rainy commutes is one of the simplest upgrades you can make to protect your gear. With the right material, a bit of care, and smart organization, rainy days won’t slow you down.
Give a liner a try this week—measure your bag, pick your material, and tape up any seam leaks. Then share your experience or favorite waterproof hack in the comments so everyone stays dry on their next commute.

Space-Saving Hacks For Family Travel With Kids’ Clothes

Backpack Safety Tips for Teenage Girls Carrying Heavy Loads