How To Prevent Back Pain When Carrying Camera Gear
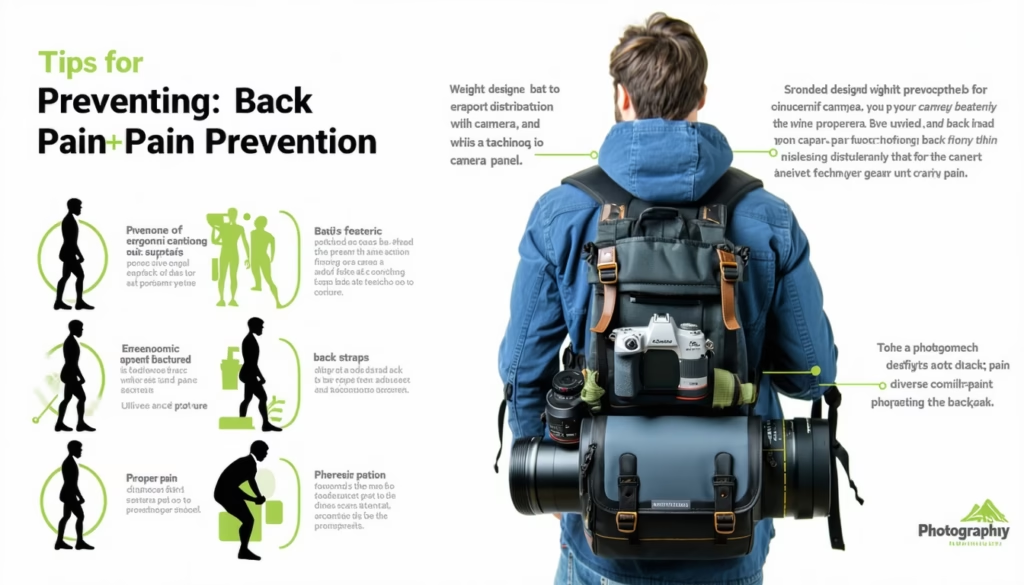
If you’ve ever wondered how to prevent back pain when carrying camera gear, you’re not alone. Picture this: you’re halfway through a day of shooting, the sun’s beating down, and every step feels like you’ve got bricks strapped to your shoulders. That nagging ache in your lower back? It’s a surefire way to cut your shoot short.
In this guide, you’ll find practical tips for choosing the right camera backpack, packing smart, adjusting straps, and strengthening your posture. By the time you’re done, you’ll know exactly how to carry your kit comfortably and focus on getting the perfect shot.
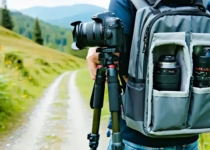
Choose Ergonomic Backpack
Selecting a camera backpack built with your body in mind is step one. A poorly designed pack can shift weight and strain your spine within minutes.
| Feature | Why It Matters | What To Look For |
|---|---|---|
| Padded Straps | Cushion shoulders | Wide, adjustable straps with breathable foam |
| Hip Belt | Transfers weight to hips | Sturdy, padded belt that clips securely |
| Back Panel | Supports spine, allows airflow | Contoured design with mesh ventilation |
| Load Capacity | Holds your gear comfortably | 20–30 liters for day trips |
Here’s the thing, you don’t need every feature under the sun, but a few essentials go a long way.
- Check shoulder strap padding and adjustability
- Test the hip belt for snug, comfortable fit
- Look for a ventilated back panel to reduce sweat
For a deeper dive into must-have pack features, see what every photographer should want in a backpack.
Distribute Weight Evenly
A balanced load keeps one side from pulling you off-center, which prevents muscle strain. Here’s how to distribute weight like a pro.
-
Pack Heaviest Items Near Center
Place your camera bodies and heavier lenses closest to your spine. This reduces leverage that tries to yank you backward. -
Use Modular Dividers
Customizable inserts let you snug gear in place so it won’t shift as you walk. Try a strategy for how to customize a camera backpack with inserts. -
Balance Left and Right
If you carry a big telephoto lens on one side, counterweight it with batteries or a water bottle on the other. Even distribution makes a surprising difference.
Adjust Straps Correctly
Even the best backpack won’t feel great if straps sit wrong. Let’s walk through fine-tuning your fit.
-
Set Shoulder Straps Properly
Slide your arms through and gently tighten until the pack feels hugged to your back. The straps should sit mid-shoulder, not cutting into your neck. -
Tighten Chest Strap
Clip the sternum strap at chest height and cinch it until shoulder straps stop sliding outward. This keeps the load from flapping as you move. -
Position Hip Belt
The padded belt should rest on top of your hip bones, not your waist. Fasten snugly so some weight shifts off your shoulders and onto your hips.
Lighten Your Load
Less gear equals less strain, plain and simple. Before each shoot, ask yourself what you really need.
-
Choose Gear Wisely
Need three lenses? Maybe two will do. Swap heavy zooms for a standard prime if it covers most situations. -
Use Lightweight Accessories
Carbon fiber tripods and collapsible reflectors weigh less than their budget counterparts. -
Borrow or Rent Equipment
If you’re shooting a one-off event, renting a specialty lens might beat lugging it cross-country.
For more packing finesse, check out how to avoid overpacking a camera backpack.
Maintain Good Posture
Good posture isn’t just for office chairs. Your stance while carrying gear matters too.
Stand Tall and Engage Core
Keep shoulders back, chest open, and lightly squeeze your abs. Think “stacked” spine rather than slumped.
Avoid Leaning Forward
If you lean into your pack, your lower back arches and strains. Align ears over shoulders and hips.
Use Posture-Friendly Habits
- Walk smoothly, avoiding sudden jerks or twists
- When loading or unloading, bend at hips and knees rather than back
Employing these simple habits keeps you shooting longer with less fatigue.
Take Regular Breaks
Even optimal packing and posture won’t stop fatigue if you don’t rest. Schedule short breaks to reset.
Plan Rest Stops
Map out spots where you can sit, switch packs, or swap lenses.
Stretch During Breaks
Focus on stretches that target the shoulders, chest, and lower back. A few minutes will loosen tight muscles.
Use Support Tools
A lightweight folding stool or camera monopod doubles as a seat and gear support.
Strengthen Core Muscles
What you do off the trail impacts how you feel on it. A strong core helps stabilize your spine under load.
Practice Core Exercises
- Planks and side planks for overall stability
- Bird dogs for lower back strength
- Dead bugs for deep abdominal engagement
Incorporate Stretching Routines
Yoga stretches like cat–cow or child’s pose release back tension and improve flexibility.
Stay Active Between Shoots
Add short workouts or walks into your routine to keep muscles conditioned and ready for your next adventure.
Use External Supports
Sometimes you can shift part of the load off your back entirely. Consider these options.
-
Tripod and Monopod Tips
Carrying gear on a monopod or tripod can be easier than on your back. Learn how to carry a tripod using a camera backpack for hands-free comfort. -
Use Camera Straps
A cross-body camera strap or sling distributes weight to your torso, giving shoulders a break. -
Consider a Waist Pack
Small accessories like spare batteries or memory cards stored in a belt pack reduce your backpack’s load.
Frequently Asked Questions
How Heavy Should My Camera Backpack Be?
Aim for no more than 10–15 percent of your body weight. If you weigh 150 pounds, keep gear under 15–22 pounds for day trips.
Can Poor Packing Technique Cause Back Injuries?
Absolutely, shifting loads and unbalanced packs force your muscles to overcompensate, leading to strain and discomfort.
What Core Exercises Help With Backpack Comfort?
Planks, bird dogs, and dead bugs build stability around your spine, improving endurance when you carry gear.
Is It Better To Use A Tripod Instead Of A Backpack?
A tripod or monopod can reduce pack weight, but you’ll still need a backpack for most camera bodies and lenses.
How Often Should I Adjust My Straps During A Shoot?
Check straps every 30–45 minutes. As your pack settles or you change gear, a quick tweak keeps support optimal.
Will A Waist Belt Really Reduce Shoulder Pain?
Yes, by transferring up to 70 percent of a pack’s weight to your hips, a padded belt relieves shoulder and back pressure.
Can I Prevent Back Pain Without Upgrading My Backpack?
Improving posture, redistributing weight, and taking regular breaks can help, but an ergonomic pack amplifies those benefits.
Conclusion
Preventing back pain when you haul camera gear isn’t rocket science. By choosing an ergonomic backpack, distributing weight evenly, adjusting straps correctly, and strengthening your core, you’ll feel more comfortable on your shoots.
Give these tips a try next time you pack for a day of photography, and notice how much smoother your adventure goes. Here’s to pain-free shooting—may your focus stay on the viewfinder, not your shoulders.

How To Wash a Jansport Backpack? (Complete Guide)

How To Wash a Fjallraven Backpack