Using Color-Coding Inside a Teen Backpack For Better Organization
Benefits of Color-Coding
Using color-coding inside a teen backpack for better organization can turn chaos into clarity and save you precious minutes each morning. You’ll waste less time digging for your geometry book, and you’ll always spot your favorite highlighter in seconds. Here’s why a simple color map is a game-changer:
- Quick item location so you aren’t rifling through piles of folders
- Reduced morning stress, because you know exactly where everything lives
- Consistent packing routine that frees up brain space for what really matters
- A pop of personality each time you unzip your bag
Color-coding isn’t just pretty—it’s practical. When your bag follows a clear scheme, your brain learns where things go, so you pack and repack faster all semester long.
Gather Your Supplies
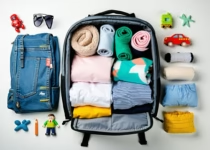
Before you dive in, assemble tools that make color-coding a breeze. You don’t need fancy gear—just a handful of basics:
Colored Labels or Clips
Grab adhesive labels, binder clips, or washi tape in your chosen hues. These stick on folders, pouches, and even pens for instant visual cues.
Colorful Pouches or Folders
Pick see-through plastic pouches or sturdy cardstock folders in matching shades. They keep loose items contained and reinforce your palette.
Highlighting Pens or Markers
Highlighters, chisel-tip markers, or fineliners in each color help you tag papers and draw borders on pages.
Dot Stickers or Washi Tape
Easy-peel dot stickers and patterned washi tape are perfect for marking pages in planners or textbooks. You can repurpose them semester after semester.
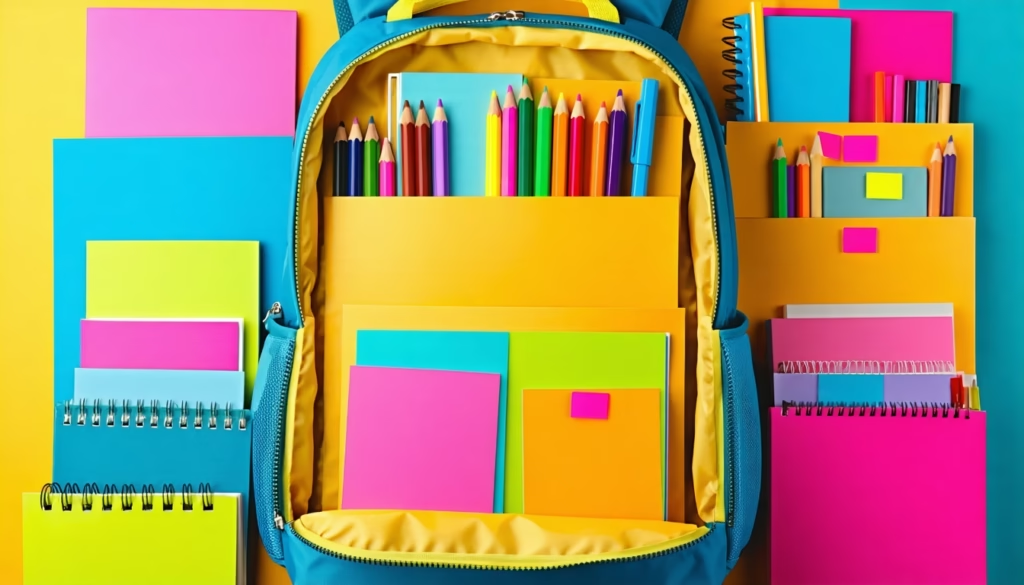
Pick a Color System
A clear legend stops your backpack from becoming a rainbow of random hues. Aim for 4–6 colors and stick to them. Too many shades can get confusing; too few might lump everything together.
| Color | Category | Examples |
|---|---|---|
| Blue | Core Subjects | Math notebook, science folder |
| Pink | Creative Class | Art sketchbook, colored pencils |
| Green | Snacks & Hydration | Reusable snack bag, water bottle |
| Yellow | Tech & Chargers | Headphones, phone charger |
| Purple | Personal Items | Lip balm, hand sanitizer |
Balance Bright and Neutral
Pair a neon shade or two with softer pastels. Bright hues jump out, while neutrals (gray, light pink) ease the eye when you open your pack.
Limit Your Palette
If five colors feel like too much, start with three—maybe one for school supplies, one for snacks, and one for personal items. You can always add more later.
Assign Colors to Items
Once you’ve settled on your palette, it’s time to tag gear. Aim for consistency: every math item wears blue, every snack pouch goes green. Here’s a quick breakdown:
Notebooks and Folders
Stick a colored label on the spine of each notebook or folder so you see it instantly when your bag is upright.
Writing Tools
Use matching pen caps, or wrap a bit of washi tape around pens and highlighters. Your math blue highlighter stays blue every day.
Tech and Chargers
Clip a yellow label to your earbuds or charger cables, so they never get lost in the tangle. For extra tips on tiny gadgets, check out organizing earbuds and small tech in teen backpacks.
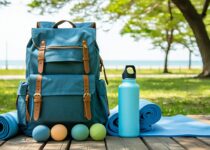
Snacks and Hydration
Store your granola bars and water bottle in a green pouch or bag. Pair your color system with custom snack pockets by adding easy-reach snack pockets inside backpacks.
Toiletries and Makeup
If you carry chapstick, lotion, or makeup, designate purple for all personal care. For tricks on safe storage, see how to safely carry skincare items in backpack for teen girls.
Label Items Clearly
Color alone isn’t enough—you need clear tags and labels so nothing gets misread.
Use Visible Tags
Place labels where you see them without digging: on the front of pouches, the top edge of folders, or the tip of a zipper pull.
Stick to Legible Fonts
Keep handwriting neat or use a label maker. If you share notes with friends, cursive might look cute but printed letters win for clarity.
Add Symbols When Needed
For subjects with similar hues, add a small icon—like π for math or a test tube for science—to avoid mix-ups.
Pack by Color Zones
Your backpack becomes a mini command center when each compartment hosts a color zone.
Layer by Daily Routine
Drop your most-used color items (planner, pencil case) in the front pocket. Reserve the main compartment for least-used things, like extra folders.
Group Similar Items Together
Keep blue school supplies on one side and pink creative supplies on the other. That way, you unzip and instantly see the right section.
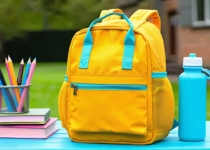
Use Pockets Strategically
Side pockets are perfect for green snack bags or your water bottle. Mesh pockets in front can hold yellow tech bits, ready for a grab-and-go charge.
Maintain Your Color System
A color-coded backpack only works if you keep it fresh. Here’s how to stay on track:
Do a Weekly Check-In
Every Sunday evening, peek inside your bag. Toss any stray items and reassign them to the right color pouches.
Replace Worn Labels
Labels can fade or peel. Keep a small stash of dot stickers or extra clips so you can swap them out quickly.
Adjust as Your Needs Change
If you add a new activity—say band practice—reserve a fresh color for all music bits. Flexibility keeps the system relevant.
Frequently Asked Questions
How do I choose colors if my supplies are limited?
Start with what you have. Use three basic colors and a simple pattern—like stripes for one category and dots for another. You can upgrade as you find more supplies.
Can I mix color-coding with a digital planner?
Absolutely. Match your app themes or calendar labels to your backpack colors. Seeing blue entries on your phone and your math folder in blue makes the method seamless.
What if I lose or forget my color code?
Keep a handy legend printed on a small card in your wallet, or snap a photo of your color map on your phone. That way you can check it in seconds.
Are there apps to help track my color system?
Some task-management apps let you assign colors to projects or tags. While it’s a digital twist, it reinforces the habit when you switch between phone and backpack.
Can color-coding work for sports or dance gear?
Of course. Use your color for textbooks for school, another for sneakers or dance shoes, and a third for water and snacks. You’ll know exactly which compartment to unzip first.
How do I keep the system fresh all year?
Once a quarter, reassess your colors. Swap out shades if you crave a change, or refine categories as your schedule evolves.
Conclusion
Color-coding your backpack is one of the easiest ways to bring order—and a touch of your personality—to your school day. With a few labels, pouches, and a clear legend, you’ll zip through your morning routine and find everything at a glance.
Give color-coding a try this week. Start small with three colors, tweak as you go, and notice how much smoother your school days feel. Happy organizing!
Essential Features to Seek in a Yoga Backpack || Beginner’s Guide
Benefits of Breathable Mesh Straps for Teen School Backpacks