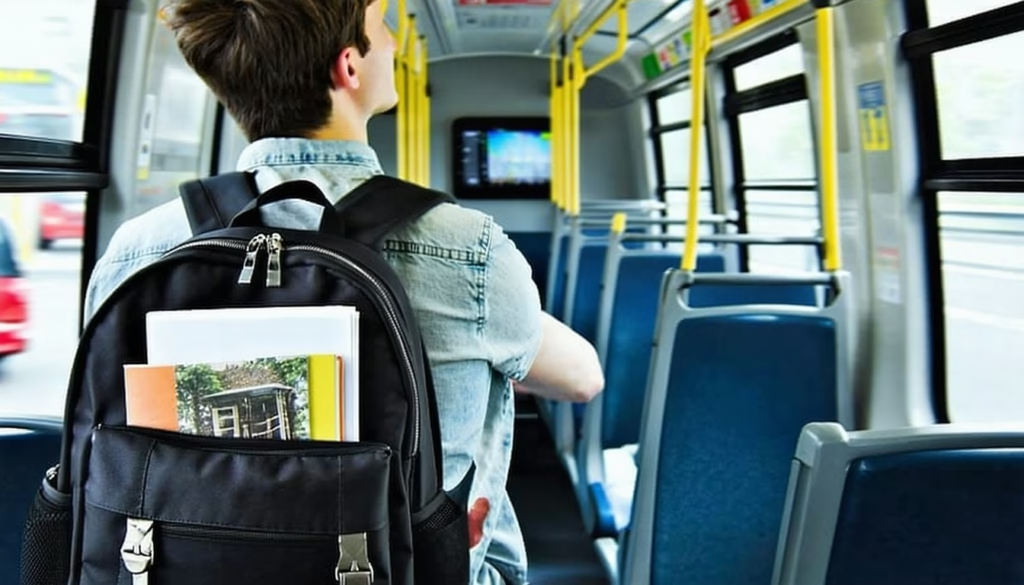
Converting a School Backpack into a Seat Cushion on Buses
Gather Your Materials
Before you jump in, let’s round up everything you need to turn your backpack into a cozy bus seat cushion. Having the right supplies makes the process smooth and keeps you comfy on every ride. Below is the complete guide on converting a school backpack into a seat cushion
Padding Options
Here’s a quick comparison of popular materials (feel free to mix and match):
| Material | Comfort Level | Price | Weight |
|---|---|---|---|
| EVA Foam | Medium | Low | Light |
| Memory Foam | High | Medium | Medium |
| Inflatable Insert | Adjustable | Low | Very Light |
| Folded Blanket | Low | Free | Heavy |
- EVA foam sheets are budget-friendly and shape-hold well
- Memory foam molds to your body but can add a bit of weight
- Inflatable inserts let you tweak firmness on the go
- A folded blanket is free, but it may shift under you
Tools And Accessories
- Measuring tape or ruler to get exact dimensions
- Marker or chalk for outlining cuts
- Scissors or a utility knife for clean edges
- Hook-and-loop straps (Velcro) or zip ties to secure padding
- A lightweight pump if you choose an inflatable option
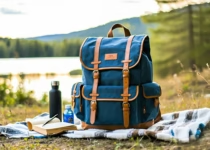
If you’re still hunting for the perfect bag, peek at lightweight backpacks for teen girls with built-in seat cushion to compare ready-made choices.
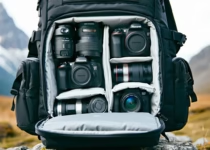
Assess Backpack Structure
Not every school backpack is cushion-ready out of the box. You’ll want to check shape, space, and strength before you start cutting or folding.
Check Capacity And Shape
Open your main compartment and measure the deepest section. Most bus seats are about 14–16 inches wide, so you need at least that much padding surface. A slim, rectangular pouch works best.
Inspect Straps And Seams
Strong straps and reinforced stitching help hold extra padding. Look for:
- Thick shoulder straps (so they don’t dig in)
- Reinforced handles or top loops (for hanging or carrying)
- Durable fabrics (nylon or canvas over thin polyester)
If your bag feels flimsy, consider reinforcing seams with simple stitching or fabric tape before adding bulk.
Prep The Cushion Padding
Once you know your backpack can handle the upgrade, it’s time to shape your cushion insert. Let’s get that padding ready.
Choose Padding Material
Pick from the list above based on comfort, weight, and price. For longer rides, memory foam or inflatable inserts often feel best. If you need a quick fix, EVA foam holds form nicely.
Cut To Fit
- Lay your padding material flat on a clean surface
- Place the empty backpack on top to trace the interior outline
- Use a marker to draw your cut lines, leaving ½ inch extra for wiggle room
- Cut slowly with scissors or a utility knife—smooth edges make insertion easier
Pro tip: Round the corners slightly so the padding slides in without catching.
Insert Padding Into Backpack
Now that your cushion is cut to size, let’s get it into place where it can shine.
Open Main Compartment
Unzip or unclip all flaps so you have full access to the backpack’s interior. If there’s a laptop sleeve or divider, decide whether you want padding in front, behind, or both places for extra thickness.
Layer Padding As Needed
- For a plush feel, stack two thinner foam sheets
- If you’re using an inflatable insert, nestle it between a foam layer and the backpack wall
- Make sure layers lie flat without bunching
Secure With Straps
Wrap hook-and-loop straps around the padding and backpack frame. You can:
- Loop straps through side compression straps
- Attach zip ties at key seams (trim excess tie ends)
- Use fabric tape inside to block shifting
A snug fit means your cushion won’t slide down when you sit.
Secure And Test Fit
You’ve built your DIY cushion—now let’s fine-tune it so you ride in style and comfort.
Reattach And Adjust Straps
Reclip shoulder straps and hip belt (if you have one). This pulls the padding tight against your lower back or seat base. Adjust shoulder straps until the cushion feels snug but not restrictive.
Try On A Bus Seat
Take a quick test run:
- Sit in a school chair or car seat to mimic the bus ride
- Lean back and shift side to side
- Notice any pressure points or slipping
If things feel off, tweak your strap tension or reposition layers. For tips on distributing extra weight evenly, check out optimizing weight distribution in large backpacks for teens.
Maintain Your Seat Cushion
A little upkeep goes a long way toward keeping your DIY cushion fresh and functional.
Cleaning Tips
- Spot-clean foam or fabric with mild soap and water
- Air dry completely before reassembling
- For inflatable parts, wipe with a damp cloth and let air out overnight
Store Properly
When you’re not bus-bound:
- Remove padding and store flat to avoid permanent creases
- Keep in a cool, dry place away from direct sunlight
- If you have extra hook-and-loop straps, fasten them so they don’t collect dust
Frequently Asked Questions
How thick should the padding be?
Aim for about 1–2 inches of foam or a ½-inch inflatable layer, depending on your comfort needs. Thicker isn’t always cozier if it shifts around.
Can any backpack be converted?
Most backpacks work, but rigid frames or very slim designs may not hold padding securely. Choose a bag with sturdy straps and enough depth.
Is it safe to use on a school bus?
Yes, as long as your cushion doesn’t obstruct emergency exits or seatbelt access, it’s perfectly fine. Always follow your school’s safety rules.
Will adding padding damage the backpack?
If you secure padding properly and avoid over-stretching seams, your bag should stay intact. Reinforce weak areas with fabric tape or simple stitches.
How do I keep the padding from slipping?
Use hook-and-loop straps or zip ties threaded through existing backpack straps. A snug fit against the back panel is key.
Can I add a waterproof layer?
Absolutely. Slip a weatherproof liner (like a thin waterproof pouch) around your padding to protect it from spills or rain.
Is it comfortable for long trips?
With the right material—memory foam or adjustable inflatables—you’ll notice less fatigue and pressure. Test at home before a full bus commute.
Conclusion And Next Steps
You’ve just learned how to turn your everyday school backpack into a comfy cushion for bus rides. With a few materials, some simple cuts, and a bit of creativity, you’ll transform those hard seats into your personal throne.
Why not give this hack a try on your next trip? Share your results or any extra tips in the comments below so other teens can ride in style and comfort.
Personalizing Your Weekender Backpack With Monograms & Straps

Guide To Perfect Eco-Friendly Yoga Backpack: Materials & Brands